Showing posts with label Quilting. Show all posts

Sunday, March 16, 2014

Applique on the long arm

My sister wanted 17" quilts for the center of the table.  I did them non traditionally.  

Because I wanted a finished quilt of 17"  I started with a 19 inch painted sky.  I made my quilt sandwich with only the backing, batting and sky fabric.

I quilted that, no trees yet just the sky.  Then I fused on the  trunks of the trees.  But on the Summer and Fall quilts, I put some of the leaves on that would be under the trunk and branches.   Then I quilted my trunk down and quilted in the branches right over any leaves that had been put down.

I fused on more leaves on Summer and Fall and then quilted down all of the leaves.  The Spring buds are doodle quilting to represent the buds just starting to open.  

When doing the Fall quilt, I decided to fussy cut one leaf and add the single leaf to Winter.

Now they will be bound with a charcoal grey.


Saturday, November 2, 2013

Miniature quilts--Wholecloth

The Art Council sells  art work made on 8" canvases.  Quilting wisely is included and appreciated as art by them and I do a canvas each year.  Last year I was asked if I wanted to do two but didn't have time or an idea for a second one.  But this year I actually have ideas for 4 but only made two.

The miniature quilts are done but need to be bound and pulled over the canvas which is 1" thick.  The binding will cover the sides.  The binding frames the quilts.  The  blue thread, Tar Heel,  on the first glows in black light.  It is Glide which has several color that react in black light.


The last quilt is now about 11" and will be cut down a little.  The center is a doily made by my Mother.  I have quilted it and will give it to my brother.

Monday, October 21, 2013

What I have been working on

My sister bought a wonderful leather square with a design she liked.  We used it as the basis for a tote bag.  The leather piece was actually used as a pocket.  The strap hanging down on the left is for the hidden zippered pocket under the top flap.  That zipper and the hardware that lets the strap adjust in size were rescued from a kid's backpack.  There is even a zipped pocket inside a zipped pocket inside the tote.  The back has a slide in pocket that I find handy for stuffing hand outs and other non valuable items.


The local quilt group, the River Valley Stitchers, wanted a  lesson on bindings particularly on non square corners.   Elaine has two wonderful table runners that will be used for the lesson.


 Those great corners in the quilting  on the fill in triangles were accomplished with a ruler that had a 90 degree angle.


I took Angela Walter's Dot to Dot class.  The leaf is the first place I applied what I had learned.


Thursday, October 3, 2013

Jane's quilt is done, well quilted

Jane's quilt is gigantic, 115" by about 85".  The quilting seems even across the whole quilt and it lays very flat.  It took 12 hours to quilt.  I couldn't get a photo of the whole quilt but the small view gives a good view of the quilting.


Sunday, September 29, 2013

Connecting Up Feathers in borders


How to get the angle of feathers so you can have a continuous feather border.


I had to do  ovals of feathers and the connecting of the feathers would show up if not perfect.


I do borders all the time that go around the quilt and connect them up so sometimes they are perfect and sometimes not.  So I set out to figure out how to do it consistently 

My thought was that I know the angle of my feathers is 45 degrees so why not mark that angle with chalk.  Of course my line is not straight it is a curve.  At the point where I want to start my feather, I put a line straight across the line of the stem no matter what angle it is at.  I want 90 degree angles


 You can see just below the feathers a chalk line forming 90 degree angles on the stem.  In the first feather on each side of the stem you can see the 45 degree line I made by dividing that 90 degree line in half  On the right side of the photo in the blue you can see a chalked line 90 degrees to the seam.  The seam was used as if it was the stem.  Again you can see the chalk mark in that first feather at the 45 degree angle..


The next photo shows a section where the feathers have been joined.  Can you find the join?  I'm not sure myself.

Tuesday, September 17, 2013

My first post.

A little about me

My name is Deb.   I am a quilter.  I think in another life I was an efficiency manager somewhere.  I like to solve problems.  I make discoveries as I quilt of how to do things easier and how to make them look better.

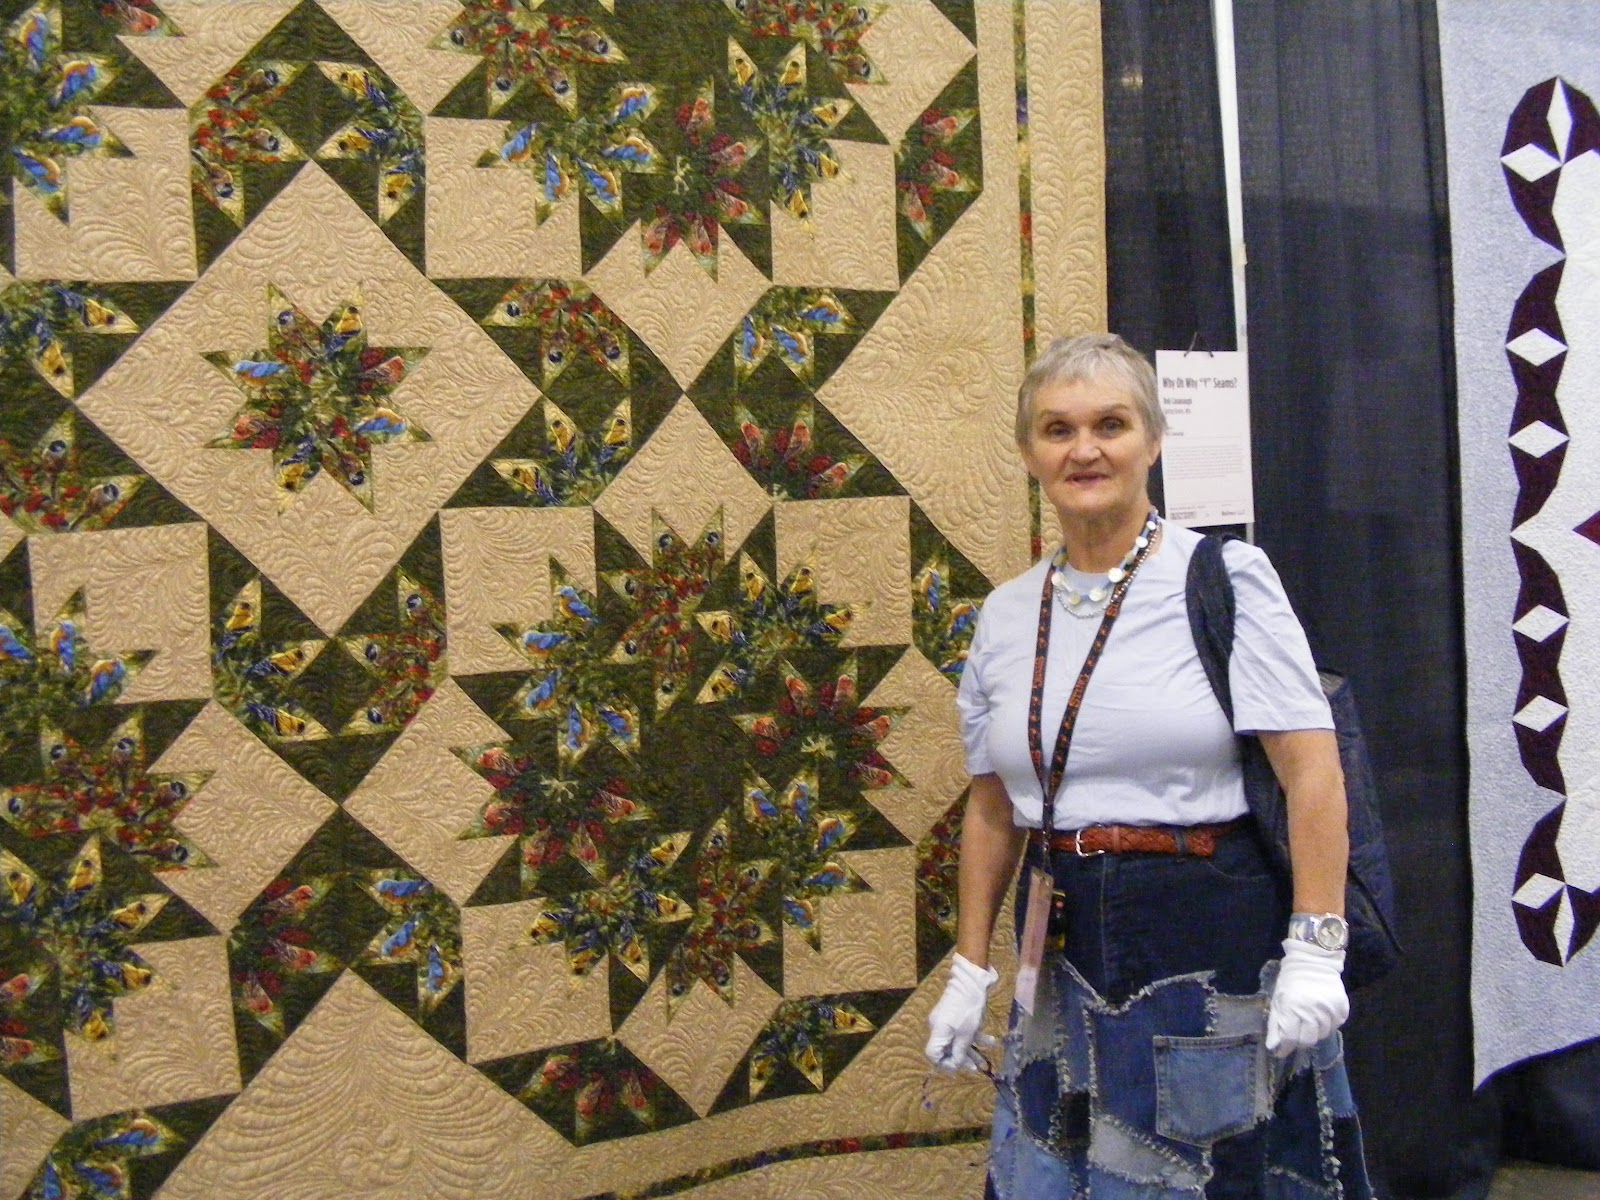
My current obsession is a repeat of how I started out, with quilted clothing.  Here in Wisconsin we are cold for 9 months of the year.  Vests and jackets are a great addition to a wardrobe and quilted or patchworked is just plain fun to wear.  The photo is me at the Madison Expo next to my quilt.  The skirt is made from bluejeans, the tote is quilted and the watch band is patchwork.


The first of the jackets and vests  shows a patchwork one that is at years old and one of the new jackets.

 The second photo show a vest using patches from denim and laces.  It was a great way to test some of those designs that came with my machine.  The denim vest has the pattern showing better on the lining than the denim outside but oh well, the outer color is better for me to wear.
 The purple vest is from fabric given to me by Kathleen, a friend.  It is actually the backside of the fabric.  She challenged me to have it made up into something by our local group meeting 10 days away.  The "right" side of the fabric was purple and metallic gold.

 The rose vest matches a quilt.  The blue/purple vest is a snow dyed fabric that I tried out a new design on.


In my blog, I am hoping to share what I am working on, what I am learning and discovering.

Tips on making quilted clothing

As I said, my current obsession is making vests and jackets.  This is what I have learned:

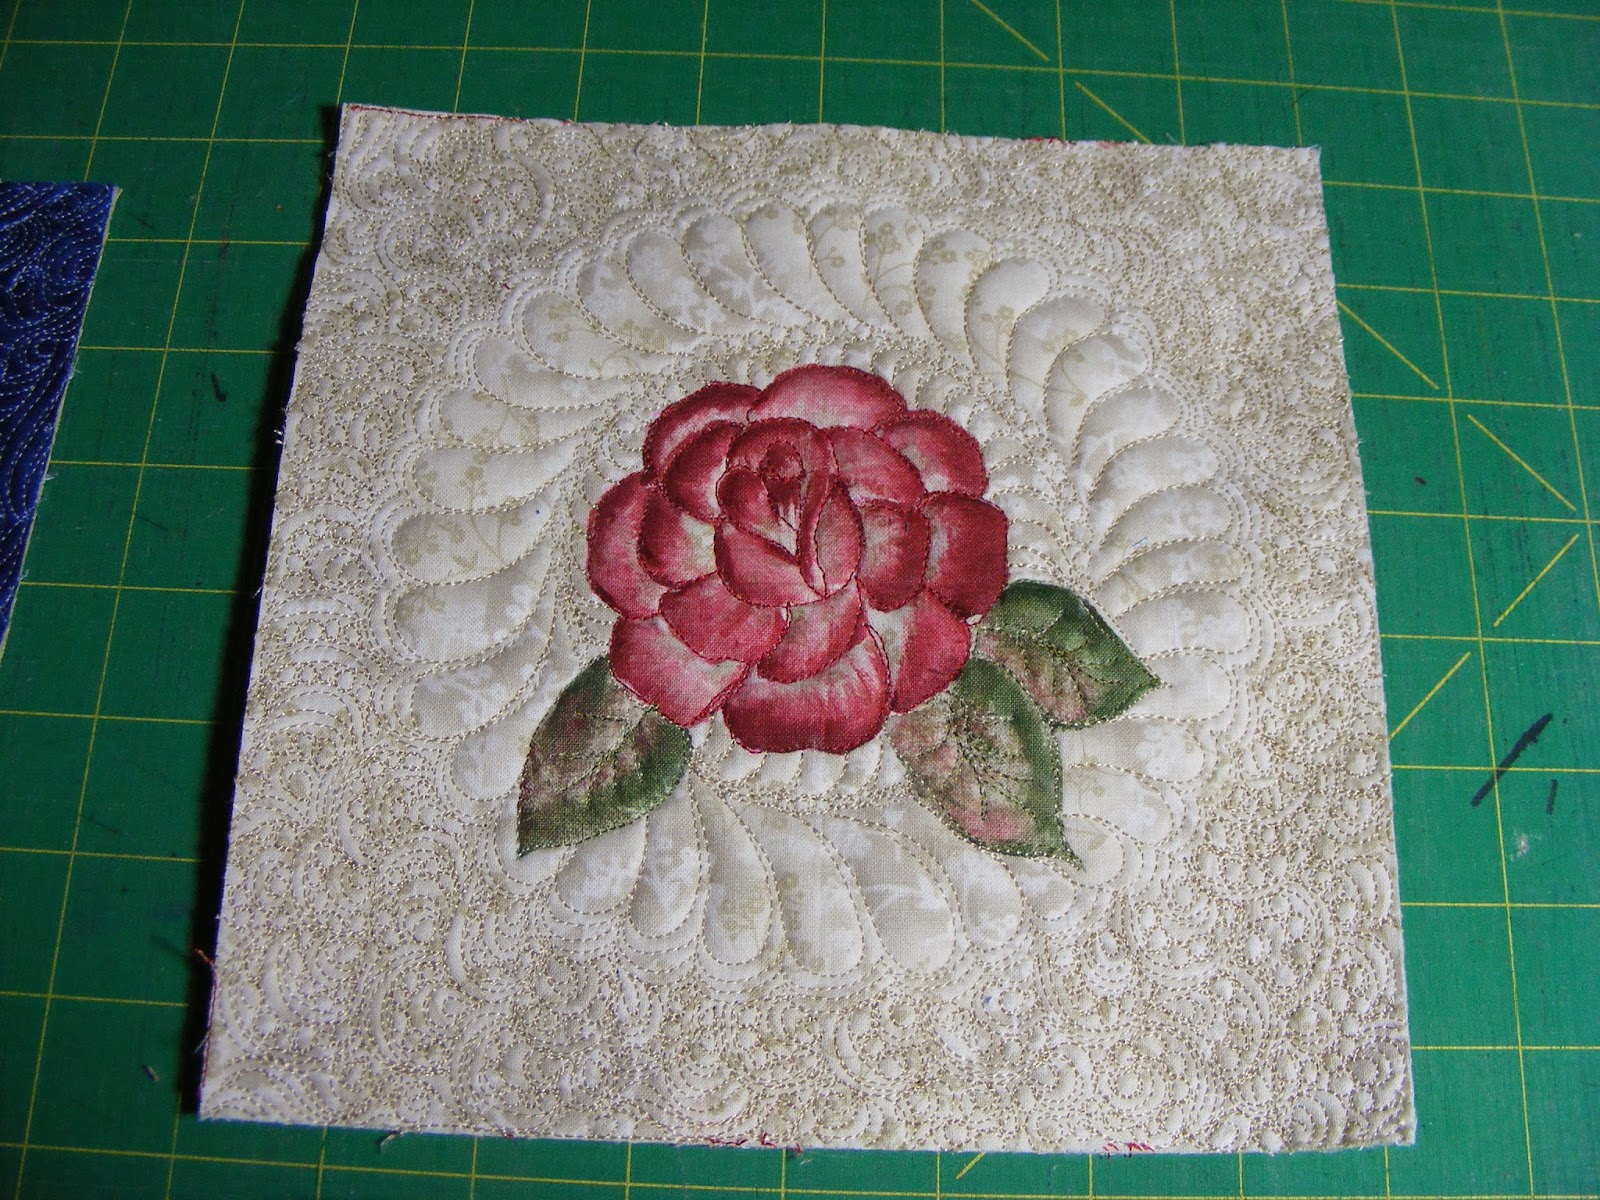
 I have discovered it is better to do the quilting on rectangles.  I mark the outline of my pattern  with chalk then add and inch outside of that line.  I quilt out to include that extra inch.  After all is quilted, I wash the rectangles.  Then I cut out my pattern pieces.  In this way, I know the exact size my garment will turn out after I have shrunk it up  and that it will be that same size after I have wash it.


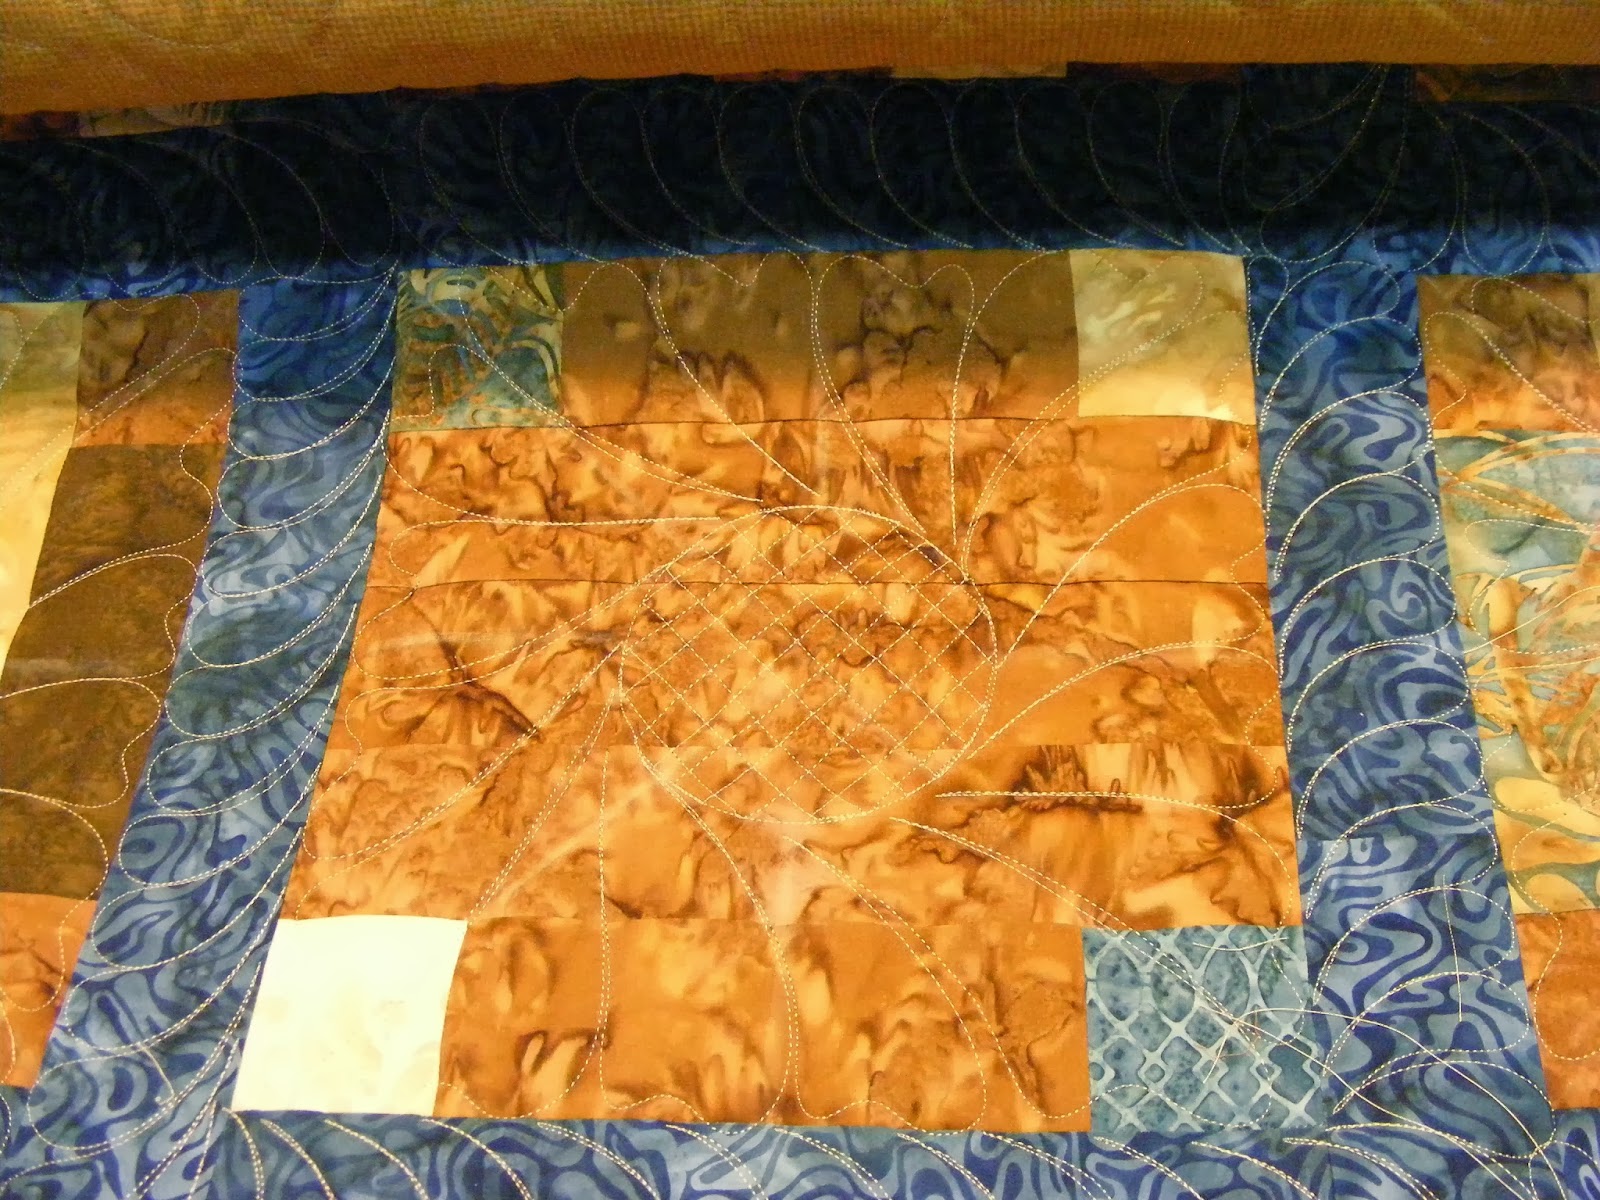
This is one of the rectangles that will make the fronts of a vest  In the middle of the circles, you can see blank space.  That is the waste area of the neckline. My favorite batting is wool.  I am told silk is also wonderful but have not tried it yet.  Wool stays soft and drapes.  I am told that also applies to Silk.  Polyester batting will not drape as well and is not as comfortable to wear.