Sunday, January 26, 2014
Blue Delph Quilt
Yeah, finished quilting, forty six hours on a longarm and lots of time thinking and drawing. The idea was to merge the design of the quilt top and the quilting into one design. In person the quilting shows up so well, but the lighting for the photo didn't show it off well. It took 46 hours to quilt on the longarm with 3 1/2 hours of ripping for one motif that was not centered correctly. It was the last marked and quilted.
Sunday, January 19, 2014
Valentine totes
Fourteen Mine Totes for the tables at Greenway Manor for the Valentine party boxed and ready to deliver
Saturday, January 11, 2014
The delft quilt (a start)
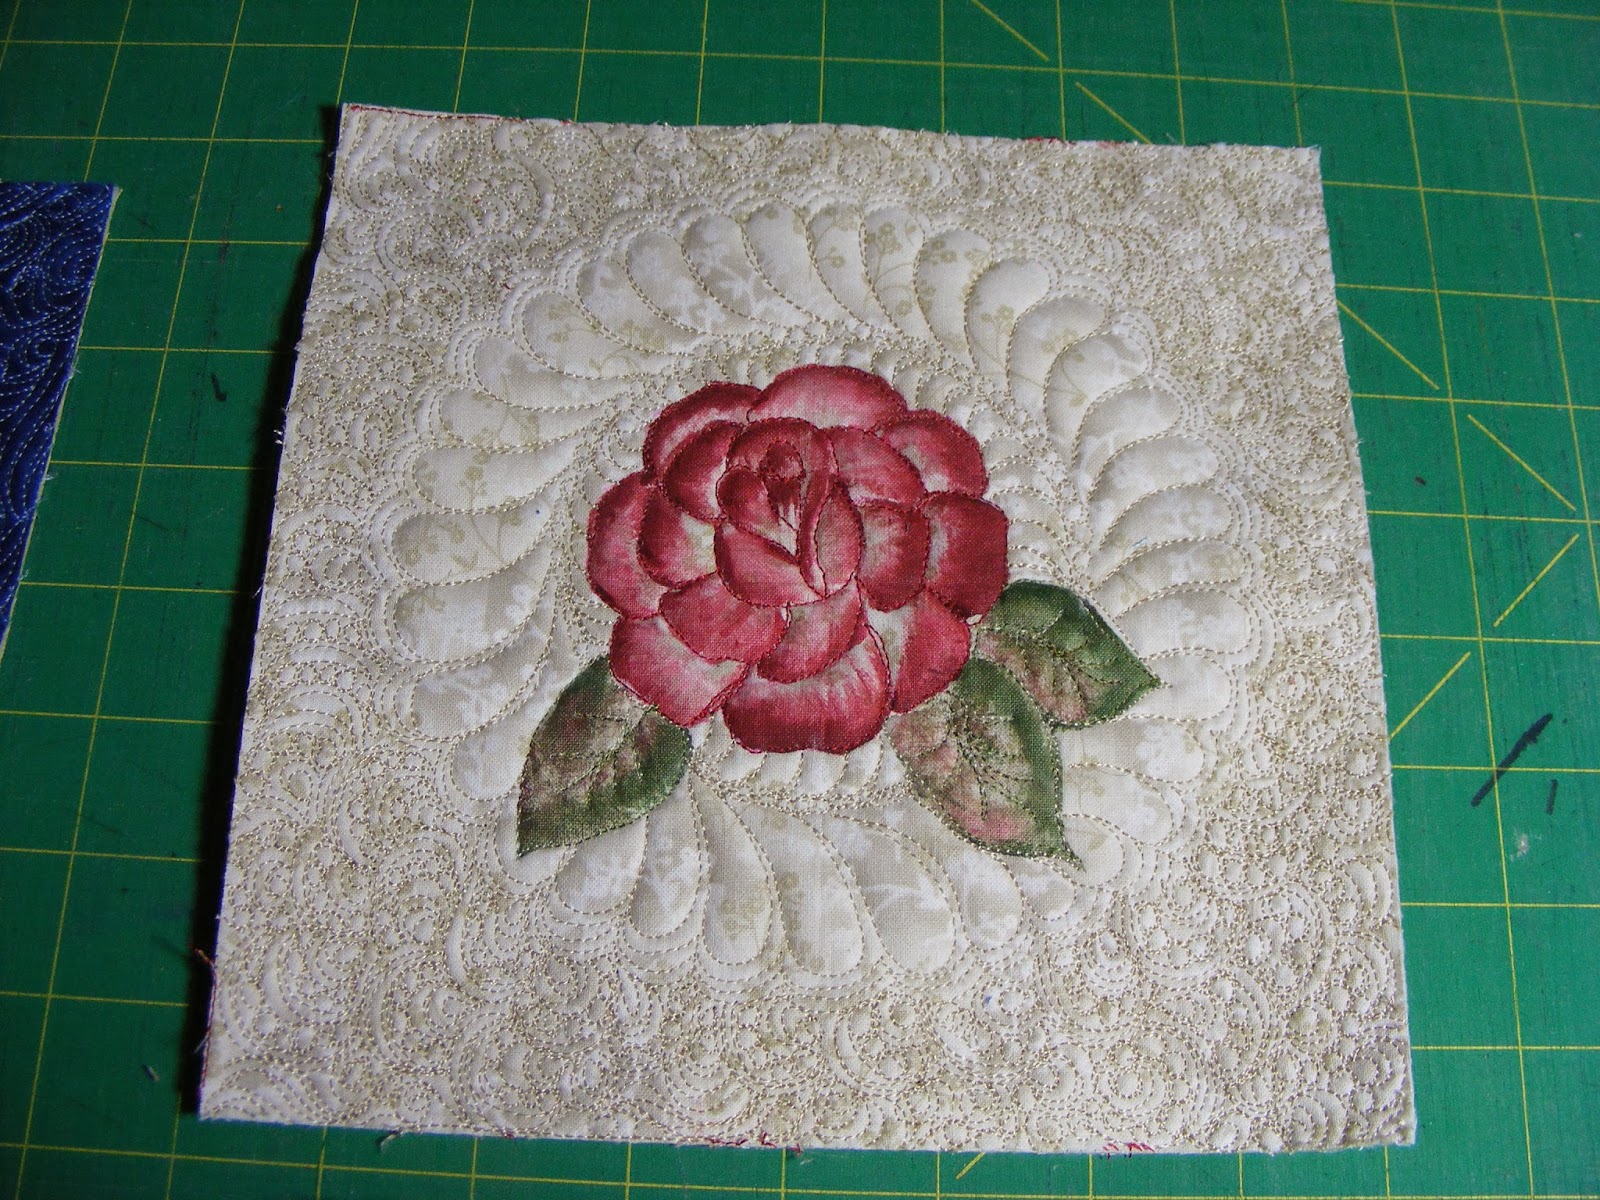
The carpenters square will hopefully turn into a kaleidoscope. The off white is McDebyished, (my friend Kathy named it that), a combination of McTavishing and feathers. All the flowers and leaves are outlines but the center of McDebyishing would be so large so I did semi circles of 1/2 inch unquilted near the ends. They puff beautifully and show up well in person making a nice design.
This is the background feather star for in the four corners. A smaller partial ones will be between the center sets. There will be semi circles of designs between the feathers. The blue jacket has this same background fabric and the same star. It goes a lot faster with practice. Outside design is to be determined (translation, I have no idea).
Thursday, December 12, 2013
Blue Vest completed
The star is made in diamonds. By chalking in circle near the centers, I was able to get the center more even.
I put a few feathers in the collar just for a little addition.
Monday, December 9, 2013
The collar on the quilted vests for Cindy
I quilt some of my collars as one piece and cut them apart. These are ones that have just an overall design.
I have no idea what the measurement of the neckline is and I could measure it on the seamline. But I fold my collar piece in half You can see the fold at the bottom of the photo. The ends on the top of the photo have two pins, one on each end at the same length from that center fold.
The left side shows the facing sewn on and opened and the piping sewn on. The right side just shows it from the back. The next photo on the right is the facing turned around the edge like you would a binding and that is how I will finish that edge off later.
I started at the center back attaching the collar to the vest with pins. The top half is the pinned part. The vest inside is the floral fabric. I match the pins I had put into the collar after I had folded it in half. Then I match the second front of the vest to the collar matching the bottom of the vest to the edge of the collar the same distance from where the pins match. You can see below the pins matching and the edges of the vest fronts lining up equal distance from those pins. Then I pin the second half of the collar on. Now I know both sides are equal.
I choose to sew across the facing at the bottom edge to finish it off . I have folded the facing back right on the edge of the cut edge of the collar. I have folded back the excess of the facing. You have to look close to see the cut edge is just a little above those two pins Before I do this I would have the bottom of the vest finished with a binding.
If I turn the vest to the wrong side you can see just a smidge of dark fabric (the facing) just near my fingers. And of course the bottom of the vest would already have a binding on it.
When the facing is cut off on the bottom , the collar will be clean finished like in the bottom photo.
ITo finish off the bottom you could just ignore the last three photos and cut the collar bottom even with the bottom of the vest front and put a binding on from the edge of the collar all the way around the vest to the other side of the collar. I just realized that today. It would be far easier. and less bulky
Another way would be to just fold the end of the collar under and top stitch instead of doing the seam across like I have been doing.
I fold the facing so that it extends 1/8 to 1/4" past the collar onto the vest so that I can stitch in the ditch between the collar and vest to secure it.
You don't need the piping either but it is that nice touch that makes the vest look professional. I use my pin tuck foot to make the piping. I actually have string in the piping.. I have shrunk it. The piping fabric is put over the string and put into one of the grooves of the pin tuck foot. It makes piping really easy You can use the same foot to apply the piping to the collar.
I actually sew my collar on first to the vest because it is easier to manipulate and press while it is still flat with only the shoulder seams sewn.
Hope this helps Cindy. Email me if you need any other explanation.
Thursday, November 14, 2013
A border idea and Shirley's vest
I quilted a quilt with a wide top and bottom border and narrow side borders The overall look was Oriental and the blocks had dragons fussy cut. I chose to do the feather on the outer border utilizing only part of the top and bottom border making the one side very irregular with the feathers. Then I filled in the rest of the border with clam shells that a friend called "dragon's scales".
Shirley's vest is finished and ready for her Birthday delivery. The silver thread on a black denim looking fabric is stunning.
Saturday, November 2, 2013
Miniature quilts--Wholecloth
The Art Council sells art work made on 8" canvases. Quilting wisely is included and appreciated as art by them and I do a canvas each year. Last year I was asked if I wanted to do two but didn't have time or an idea for a second one. But this year I actually have ideas for 4 but only made two.
The miniature quilts are done but need to be bound and pulled over the canvas which is 1" thick. The binding will cover the sides. The binding frames the quilts. The blue thread, Tar Heel, on the first glows in black light. It is Glide which has several color that react in black light.
The last quilt is now about 11" and will be cut down a little. The center is a doily made by my Mother. I have quilted it and will give it to my brother.
Labels:
art quilt,
FMQ,
Quilting,
quilts,
wholecloth
Subscribe to:
Posts (Atom)