Friday, October 25, 2013

prgram on bindings from the River Valley Stitchers October Meeting


Starching your fabric really helps in applying a binding.  It will help binding not to stretch.  If you have already cut and not starched. apply the starch on the back side of the double binding, then fold and press.   It will keep the top layer from scooting ahead .  On a single binding just spray and let dry.

If you are having trouble joining your strip at an angle, another thought in putting them together is to use White SCHOOL GLUE.   Dritz has out a small bottle for $2 that has a small  needle nose.

The first step is to iron a 45 degree angle in the first strip of binding.  If it isn't exactly 45 degrees it is no problem.


I have turned it over to the backside.
The second step is to put a small bead of glue along the folded over angle in the seam allowance,


 Line up the first strip on the second strip>  You can find where the angle is in the photo below by looking up from the ear of fabric.  Make sure the top edge is straight as well as the bottom edge.  Then press together.


When you look on the back side,  you can see the crease that you ironed in on the first strip.  This is your seam line.  I can't always see the crease when it is flat under my machine so I mark it using a small ruler and a marker that won't show up or can be removed easily..

Sew the seam,   Pull apart the seam  allowance breaking the hold of the glue and then trim.  It is easier to pull the seam open before you trim.     Press seam allowance open.
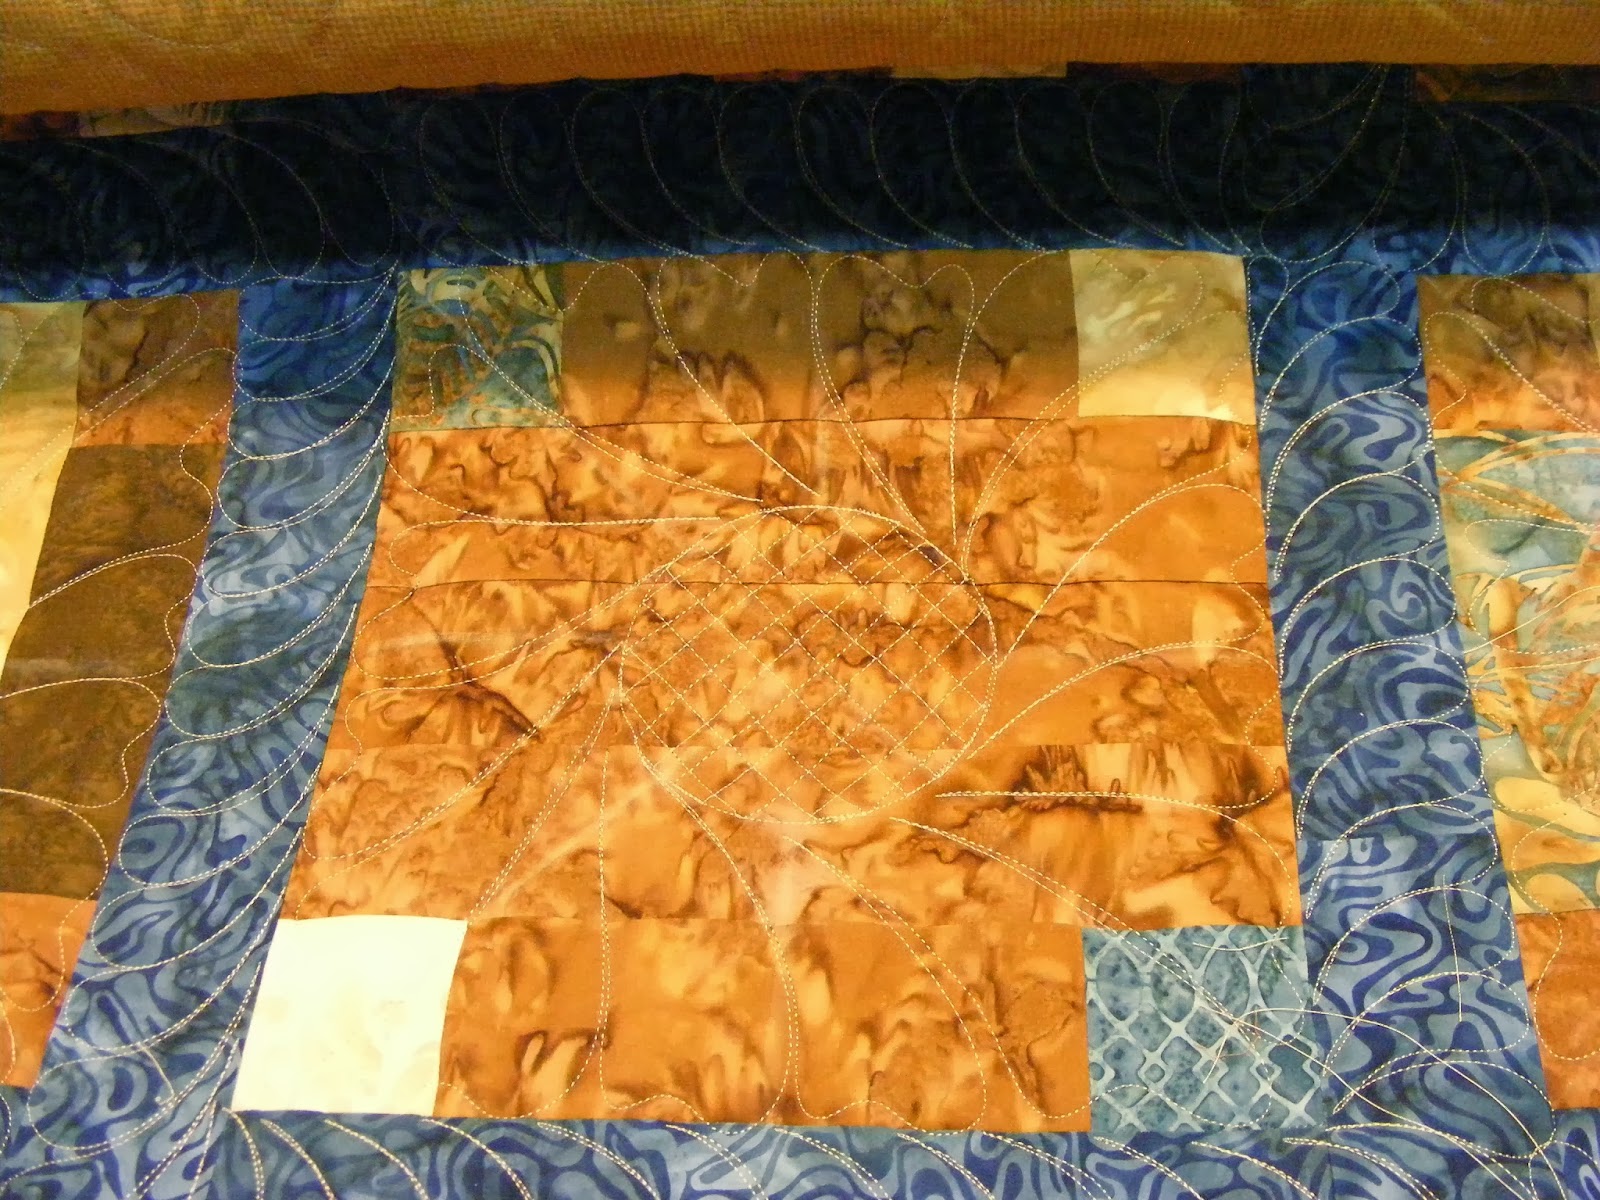


Sewing the binding.

We don't even  to think about it but on a regular square corner  about getting  a diagonal fold in our binding in the center of the corner.

We sew up to  1/4 of a inch before the second  side.  We  turn the binding at the very edge of the corner, align the binding with the second side and sew.   If we can't judge the quarter inch we are told to put a pin 1/4 from the edge of the corner and sew to it.  But we never think about forming that fold right in the center of the corner.   It is only when we have an odd angle that we start to think about it.

 A 60 degree or a 45 degree or any other strange angle is the same procedure with a minor change.   We can put that pin in the center of the angle to help us form that odd angle and have that fold in the center..  Sorry about the fuzzy photo below  for that.

The instructions for any angle ( 90, 45, 60, 15 etc.)  is to sew to the pin.

The instructions I usually hear to sew up to the pin bother me.  Our group has heard Anne's story of her friend and horror story of her broken needle.
 I prefer to sew close to the corner, fold the binding back along the needle and crease it.  When you open it up you have the crease.  I mark the crease  if I can't see it well.  Sew to that crease.
 Now you have the option of back stitch one or two stitches, sewing straight out to the side off the quilt or sewing on that diagonal line to the corner.  I like to sew to the corner so that it makes it easier for me to turn the binding to the next edge.
 Turn the binding to the next side right at the outside edge.  I like to put my fingernail right at that corner's edge as I turn the binding. down along the next side. I make sure I fold back in that angle of the crease I had made to sew up to, the diagonal that was first marked by the pin in the center of the corner.

  This is where we get nervous on something other than a 90 degree angle The top fold that we are seeing  is not meeting the first side nor is it is the center..  We are use the fold on the binding laying on the edge of the quilt on a square corner.  This is an odd angle and it looks funny but it is right.   We formed that center fold in our corner when  we made that crease to sew up to and refolded it as we were turning the binding to the second side of the quilt.

To check it if you are nervous,  just pick up the binding on the folded edge of the binding and peek.   If I knew how to make a line on the photo I would start at the outer  corner and draw to  where the bindings meet at the corner.  Right there is the fold that is underneath, the one that will show in the center of the corner.  But it won't show until you turn the binding after everything is sewn.   You can also feel that diagonal line in the center of the corner with your finger tips.   We don't even think about any of this when we do a 90 degree corner.
 Sew from the edge attaching the second side

Now that the binding is turned you can see the center diagonal.


INNER CORNERS   

Whether a straight sided inner corner or a scallop, the same procedure is used.   I am going to duplicate the steps of an outer corner.  put a pin in the center of the angle, fold the binding next to that pin and put in a crease, sew in the crease, align the binding to the next side and sew.

  Of course there is more than one method.  I want to show you the older method  first..


The method I remember from years ago is to lengthen your stitch and mark the seam by stitching the corner. You clip into the corner where the stitching first then sew on the binding.

Then the procedure is  the same as with  the outer corners,
 Put the pin in the center of the corner, Bring the binding to the corner, fold and crease,
 I mark the crease, sew to the mark after pulling out the pin.
 The trick to turning the corner is to pull the inner corner open.  Keep your needle down and swivel the fabric.  Align the binding along the second side and pull the back part that you have already sewn opening that clip that you did, sew the second side of the binding.

 The second new method is not to sew in those guide lines and not to clip first.

Put your pin in dividing the corner in half as before,  bring your binding to the corner and fold along the pin  and make a crease as before, sew to the crease as before.   Now the change.  With your needle down,  put up your foot.  Slip a very sharp small scissors and clip to the needle which is in the down position and clip at this point.     Then as in the other method, swivel your quilt to  line the binding to the next side and stitch pulling that clip mark apart.
 To get a good fold with the tuck of the binding in the center, fold it it and press it.   Hand stitch it in starting at the seam and go to the edge of the quilt, then fold your binding to the back and continue hand stitching that fold with it decreasing in size as it gets to the edge of the binding.


So for every angle no matter what angle inner or outer, the procedure has been  pretty much the same.

In an odd angle the pin was put in the center of the angle.   The 90 degree angle can be done the same way but it is easier just to put it 1/4" from the next side.

Stop sewing a couple inches before the corner, and put the binding to the corner, folding it along the pin making a crease.  Pull out your pin and mark the crease if necessary.  Sew to the crease.  On outer corners you can choose to backstitch,  sew to the edge of the quilt, straight out or on the diagonal line.  Fold the binding at the very outer corner to come down the second side on outer corners.  Sew the second side.


Monday, October 21, 2013

What I have been working on

My sister bought a wonderful leather square with a design she liked.  We used it as the basis for a tote bag.  The leather piece was actually used as a pocket.  The strap hanging down on the left is for the hidden zippered pocket under the top flap.  That zipper and the hardware that lets the strap adjust in size were rescued from a kid's backpack.  There is even a zipped pocket inside a zipped pocket inside the tote.  The back has a slide in pocket that I find handy for stuffing hand outs and other non valuable items.


The local quilt group, the River Valley Stitchers, wanted a  lesson on bindings particularly on non square corners.   Elaine has two wonderful table runners that will be used for the lesson.


 Those great corners in the quilting  on the fill in triangles were accomplished with a ruler that had a 90 degree angle.


I took Angela Walter's Dot to Dot class.  The leaf is the first place I applied what I had learned.


Saturday, October 5, 2013

Pacific Rim Tablerunner

The Pacific Rim company has made a line of fabric that will make monies for Veterans medical care.  The quilt shop, Thimble N Thread in Richland Center WI has joined with them to sell these fabrics and are in the process of making  the kits and making samples.

I was given one of the table runners and told I could just do my thing.  The owner imagined since I love feathers it would be filled with feathers.  No, not a feather in sight.   My mind thought a star theme would work well.  The quilting is secondary and not noticeable from across the room, just some of the texture. That of course depends on the angle you see it from. But the quilting does not take over.  It is those wonderful red stars that show up first.


My first thought was of concentric stars with micro quilting in between the stars.   I would basically turn the background a different color so that the stars would puff.   On the inside of the patchwork stars, I did an 8 point star using the patchwork as my guide points.


On the border, I learned never to use my ruler measuring from close to me to the other side.  You can't see the line well and have to peer over the whole quilt.  Start in the back and come forward.  I also learned it is faster to do all the lines first and then go back and fill in the wider spaces with the meandering.


While only straight lines, meandering and pebbles were used, it still looks complicated.   It was an honor to be part of the project

Thursday, October 3, 2013

Jane's quilt is done, well quilted

Jane's quilt is gigantic, 115" by about 85".  The quilting seems even across the whole quilt and it lays very flat.  It took 12 hours to quilt.  I couldn't get a photo of the whole quilt but the small view gives a good view of the quilting.